How to add and use a device in the Isharecloud app
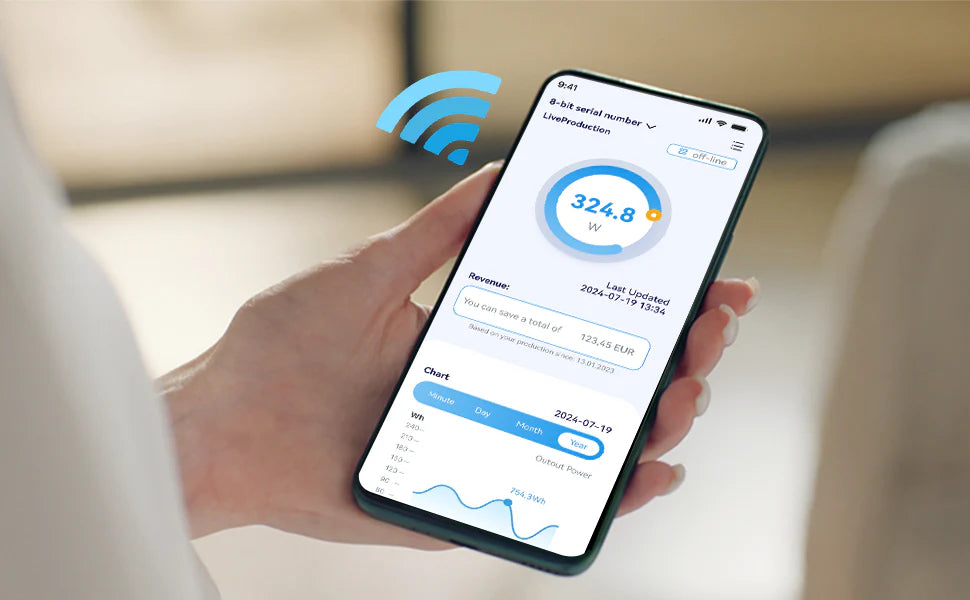
With the increasing interest in installing balcony solar panels and the demand for efficient solar panels for home use, many homeowners and renters are opting for more flexible solutions such as the Sunshare Ray balcony solar system. This system is easy to install, making it ideal for smaller areas such as balconies. Whether you want to install a balcony solar system or a wider solar system for your home, the following guide will walk you through the steps to set up your solar panels using the Sunshare Ray app "Isharecloud", ensuring a smooth and hassle-free process.
Below we present the setup and operating instructions for the iOS and Android versions of the app separately.
Steps to add and use a device in the app for iOS version 5.3.8
WiFi setup tutorial video
If you have any problems setting it up, you can watch the video tutorial which will walk you through it step by step.
Important instructions:
.If the device has already been added and you need to reconfigure the network, go to the Configure Network section to access device setup.
If the device is already bound to another user, you must unbind and "delete" the device from that user's account before proceeding. Each device can only be bound to one user at a time.

Step 1: Add the device

Step 2: Connect to the device's WiFi
Make sure your phone detects the WiFi named "MI-xx". Do not connect to it yet. Follow these steps:
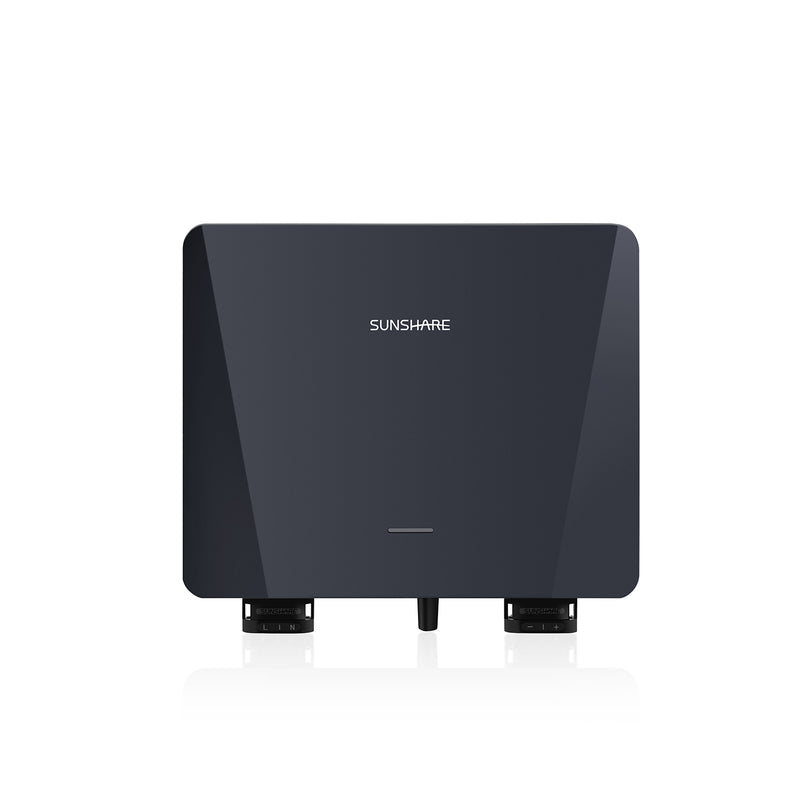
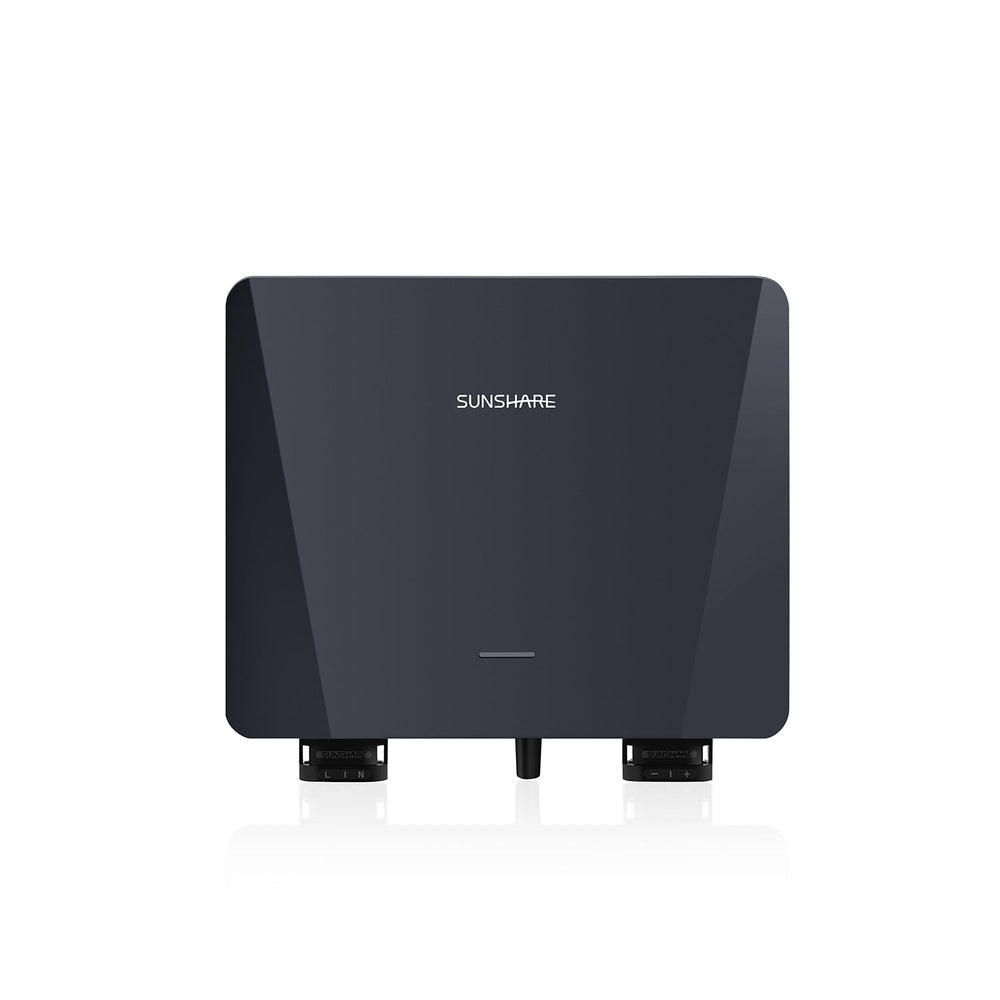
1、Connect the solar panel inverter to the DC end and disconnect the AC end, make sure the red light flashes.
2、Make sure your phone can detect the “MI-xx” network.

Note: If you cannot detect the WiFi “MI-xx”, follow the steps below to troubleshoot:
Make sure the red light on the solar panel inverter is flashing. If not, disconnect the AC end and leave the DC end connected.
Bring your phone within 10 meters of the solar inverter. If it still doesn't light up, turn off the inverter for 10 seconds and plug it back in.
Step 3: Open the Add Station page.
Scan the barcode or enter the serial number manually to add the station serial number.

Step 4: Configure the WiFi
After successfully entering the serial number, a 2.4GHz WiFi configuration pop-up window will appear. Enter your WiFi name and password and click "Confirm" to continue the setup.

Step 5: Confirm the network status after successful configuration
Note: If the status indicator shows "Connected to the Internet" and the description is "Connected", the network configuration is successful.

If the configuration fails:
1、Make sure you are using a 2.4GHz WiFi network.
2、Check the WiFi name and password are correct.
3、Make sure the WiFi network is working properly.
4、Make sure the distance between the router and the micro inverter is about 10 meters and the signal does not penetrate more than two walls.
5、If the network configuration fails repeatedly, try using another phone or connecting the current phone to another Wi-Fi router.
After checking the above steps and making sure the WiFi is a 2.4GHz network and working properly, delete the serial number you added earlier. Power off the microinverter for 10 seconds, leaving the DC end plugged in and the AC end unplugged. Add the serial number again, find the MI-xx WiFi and reconfigure the correct network.
Step 6: Submit page
Once the confirmation message indicates that the network configuration has been successfully connected, click the Submit button and your station will be added successfully.

Step 7: Connecting the AC end
Connect the microinverter to the AC side and make sure the connection is secure. After a short wait, the green light should be solid. At this point, the device is supplying power to the AC side and the WiFi connection should be stable.
Step 8: Refresh the device page
Manually refresh the device page several times to monitor data upload.

If you follow these steps, you can successfully connect your device and complete the setup process.
Steps to add and use a device in the app for Android version 0.1.9
WiFi setup video
If you have any trouble setting it up, watch the video tutorial which will walk you through the setup step by step.
Important instructions:
If the device has already been added and you need to reconfigure the network, go to the Configure Network section to access device setup.
If the device is already bound to another user, you must unbind and "delete" the device from that user's account before proceeding. Each device can only be bound to one user at a time.

Step 1: Add the device

Step 2: Connect to the device's WiFi
Make sure your phone detects the WiFi named "MI-xx". Do not connect to it yet. Follow these steps:
1、Connect the solar panel inverter to the DC end and disconnect the AC end, make sure the red light flashes.
2、Make sure your phone can detect the “MI-xx” network.

Note: If you cannot detect the WiFi “MI-xx”, please follow the troubleshooting steps below:
- Make sure the red light on the solar panel inverter is flashing. If it is not, disconnect the AC end and leave the DC end connected.
- Bring your phone within 10 meters of the solar inverter. If it still doesn't flash, turn off the inverter for 10 seconds and plug it back in.
Step 3: Reset the device and scan the QR code
Click "Reset Device" and scan the QR code of the inverter. If scanning fails, please enter the SN code of the device manually
. 
Step 4: Configure the WiFi
After successfully entering the SN code, a 2.4GHz WiFi configuration window will pop up. Enter your WiFi name and password and click "Confirm" to continue the setup.

If the configuration fails:
1、Make sure you are using a 2.4GHz WiFi network.
2、Check the WiFi name and password are correct.
3、Make sure the WiFi network is working properly.
4、If the inverter's WiFi network still cannot be detected, please disconnect the AC power for 10 seconds and reconnect it to restart the process.
Step 5: Connect the AC end
Connect the microinverter to the AC port and make sure the connection is secure. After a short wait, the green light should be solid. At this point, the device is supplying power to the AC side and the WiFi connection should be stable.
Step 6: Refresh the device page
Manually refresh the device page several times to monitor data upload, or wait for it to refresh automatically.

By following these steps, you can successfully connect your device and complete the setup process.

